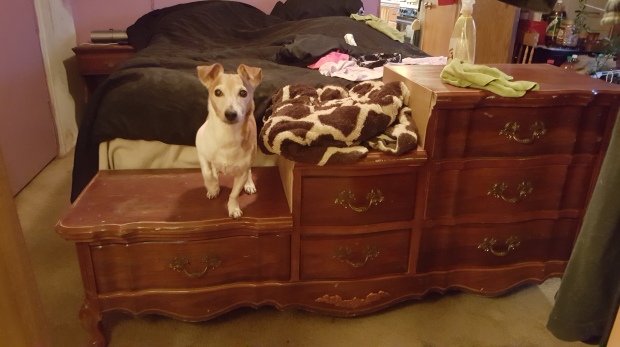
Is your Furbaby aging? Do we have arthritis? Do you have a small Furbaby that has a problem getting into that tall bed?
The reason I made them myself is that most the pet steps online and in stores had complaints about them not being sturdy enough and the price was outrageous.
The bonus of upcycling is to save the treasures from the dump, and unclog the earth from trash.
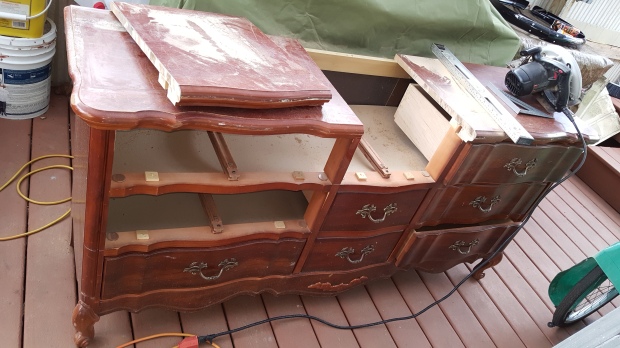
Disassembling the dresser took little time to figure out. But with some power tools and some by hand we got it all figured out rather quickly!
Tools and equipment
Circular saw
Air gun and staple gun
Japanese saw
Staples and nails
Pencil and marker
Glue (not necessary)
Tape measure
Sander and sand paper
Level
Goggles protect those eyes!!
Drill and driver heads
Extension cord
Air compressor
Screw driver
Hammer
Rubber mallet
Table saw with 80 tooth blade (The more teeth, the cleaner the cut)
·  Cut the top carefully in a straight line. You will be reusing it. With the circular saw, make sure your depth is correct just to cut the top, not to cut too low in the existing supports. I drew a line with the level, to use it as a guide to stay straight.
·

cut the top with a circular saw
Remove the top and set aside.
·
Next we will be cutting the supports or legs off of the drawers we removed. Cut as close as you can with the circular saw. And the rest of the way with the Japanese saw, not to be perfect will be sanding flush and smooth later.
·

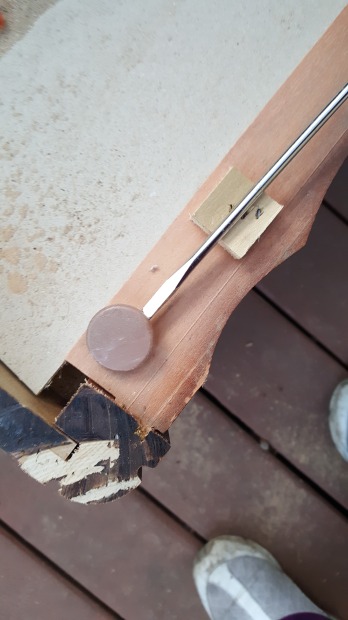
pry off drawer stops and guides
Remove the drawer stops, pads and slides with a pry bar or my handy dandy flathead screw driver and a hammer LMAO.
· Dismantle two drawers carefully with a rubber mallet. We will reuse the bottom of it for the sides of the stairs that is open.
· In the back measure and cut legs for the risers. I only need two legs. One for the second and third step.
·

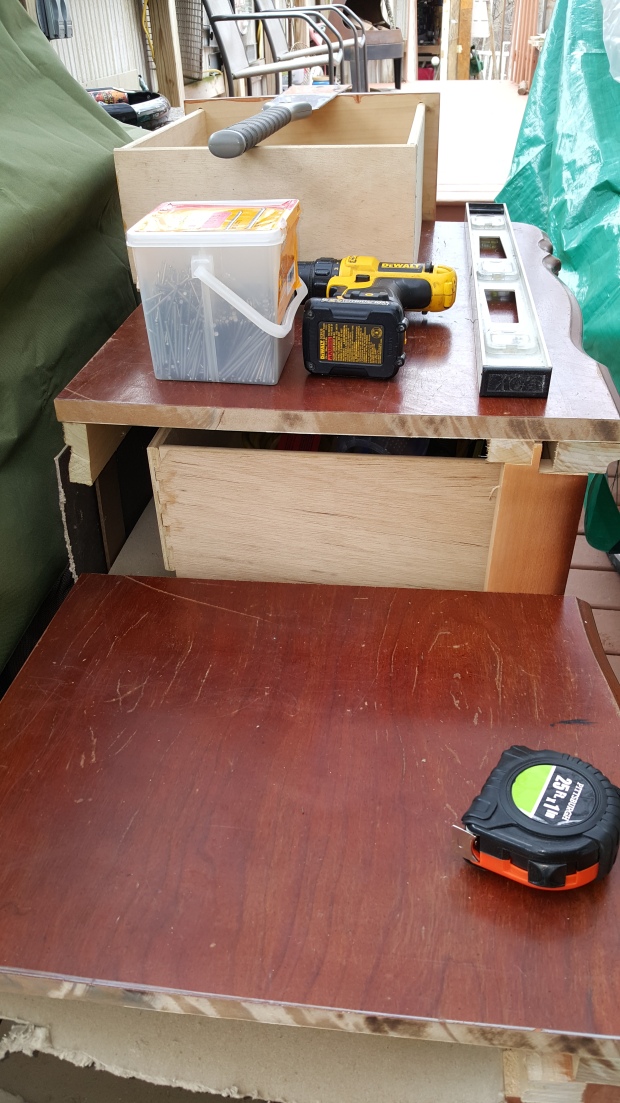
dry fit the cut out tops to get measusrements for side panels
Dry fit the tops. And get a measurement from the top of the step to the top of the next rise, and from the front to the back. Cut the drawer bottom just a little larger (you will be sanding flush).
· Dry fit everything once again just to make sure it all fits and works properly.
· First I fit the first step top in place. I used the air gun and nailed it securely.
· Next nailed the second step top in place.
· I nailed the back legs in next, right into the side of the top step for both steps. To keep them from moving around.
·
Using air compressor and the staple gun. Stapled in the sides on both steps. Once set, I then sanded flush and smooth!
All done and ready to use until we get some paint to finish it up!!


